


Quick answer – how to schedule Instagram Stories
You can schedule Instagram Stories in two main ways:
- With Meta Business Suite: Use Meta’s desktop or mobile app to create a Story, choose Schedule, and select the date and time it should go live.
- With Hopper HQ: Use Hopper HQ’s Instagram story scheduler to upload your media, choose Story as the post type, set the time, and auto-post to Instagram (and other platforms) from one content calendar.
If you manage multiple accounts or platforms, Hopper HQ is usually the fastest way to plan, schedule, and cross-post Instagram Stories in one place.
Learning how to schedule Instagram Stories can boost your chances of being seen by the millions of daily active users.
What’s even more compelling is their appeal to businesses. Approximately 1/3rd of the most-viewed stories come from brands, and 36% of businesses use Instagram Stories for marketing. This reflects the platform’s effectiveness as a marketing tool – driving engagement and sales.
These statistics clearly show Instagram Stories’ widespread acceptance and effectiveness, making them a dominant force in social media storytelling.
Although you can schedule a story on Instagram using the meta business platform, consider using a tool like Hopper HQ to not only schedule Instagram and Facebook media but also cross-post to other popular social media channels.
Can You Schedule Instagram Stories?
Yes, you can schedule Instagram Stories on Instagram using Meta Business Suite on desktop or the mobile app, and you can also use tools like Hopper HQ to schedule and cross-post Stories across multiple platforms.
How to Schedule Instagram Stories with Meta Business Suite
To schedule Instagram Stories with Meta Business Suite, you first access the Suite from your Facebook account, create a Story, upload your content, and then choose a future date and time instead of posting immediately.
The Meta Business Suite, formerly known as the Creator Studio, is the official tool of the social media giant. This suite, offered by Facebook (which owns Instagram), allows you to plan and schedule your stories in advance. You can even get insights into how your stories are performing.
However, if you are present on other social media channels, you’ll benefit from a social media scheduling tool like Hopper HQ. With it, you’ll be able to schedule the same post on multiple platforms, saving time to focus on other important tasks.
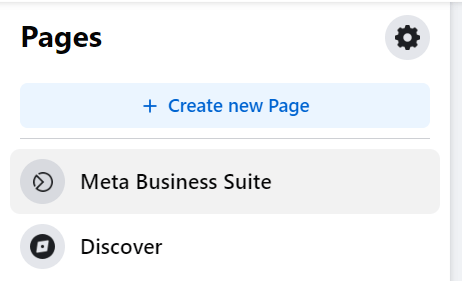
1) Access the Meta Business Suite:
Head to your Facebook account and access your Meta Business Suite by clicking on Pages.

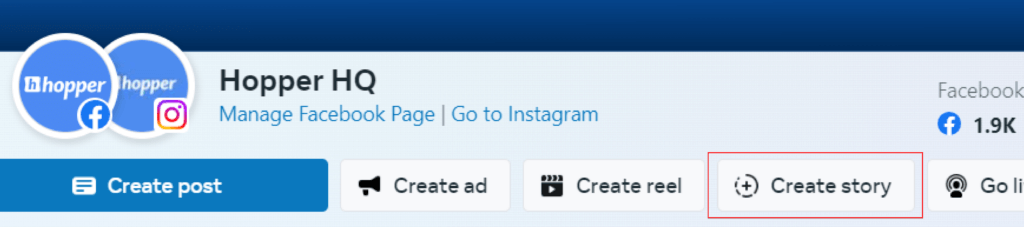
2) Create an Instagram Story:
You should be able to see the option “Create Story” on the top of your dashboard under your handle. Make sure that you select only your Instagram profile rather than posting to both platforms (only if you want to!)

3) Upload your content:
Now Upload your content and edit it if you need to. You can add up to 10 images and videos.
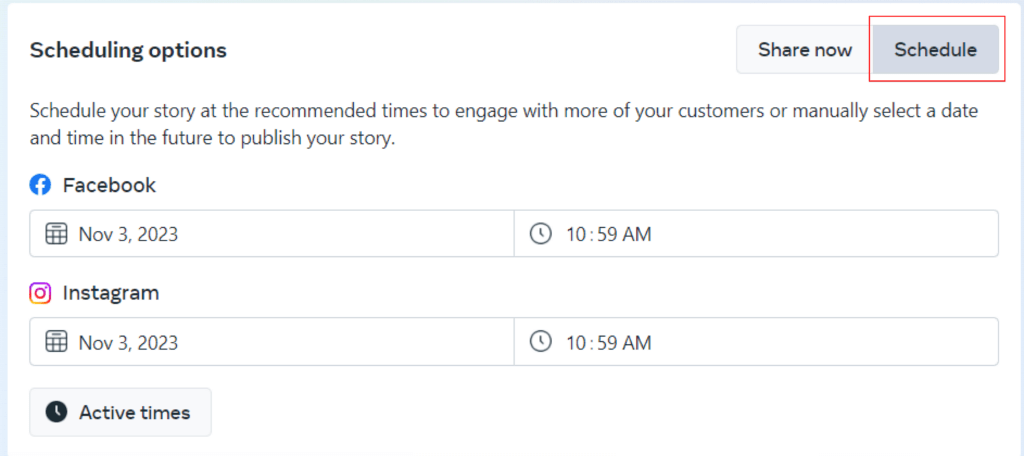
4) Schedule your story:
Instead of hitting ‘Share Now,’ select the option “Schedule”. You’ll see the option Choose your desired date and time, and your job is done.
Your Instagram story is queued up and ready to go live for the set time.

5) Review and confirm:
Double-check everything, and when you’re satisfied, click ‘Schedule.’ Your Story is now in the queue, and you can manage it alongside your regular Instagram posts in the Business Suite.
But remember, this isn’t the scheduling app you should use. In the next section, we’ll explore our very own option – Hopper HQ, for those looking to take their scheduling game up a notch.
How do you schedule Instagram Stories with the Meta Business Suite mobile app?
To schedule Instagram Stories with the Meta Business Suite mobile app, download the Meta app on iOS or Android, create a Story as usual, and then choose the “Schedule for later” option with your preferred date and time.
Step 1. Click on Story
Open the app if you haven’t yet and click on the option of adding a story to your desired Instagram account.
Step 2. Upload your desired visuals or videos
Upload media like photos and videos, with an option to select multiple images simultaneously.
Optional: Enhance your story by adding text, stickers, gifs, etc. Adjust their size and position as needed.
Press Next when you are ready to proceed.
Step 3. Choose where your story will appear
Here you should choose if you’d like your story to appear on your Facebook Page, Instagram account, or both.
Step 4: Schedule your Instagram story
To schedule your story for a later time, select Schedule for later, then choose the desired date and time for your story to be published. Confirm by tapping Done on iOS or Schedule on Android.
You have now scheduled your IG story! To view your scheduled or published post by navigating to Posts & Stories, then clicking on Calendar.
You can reschedule your Stories both on desktop and mobile in case you have a change of mind.
How to Schedule Instagram Stories with Hopper HQ
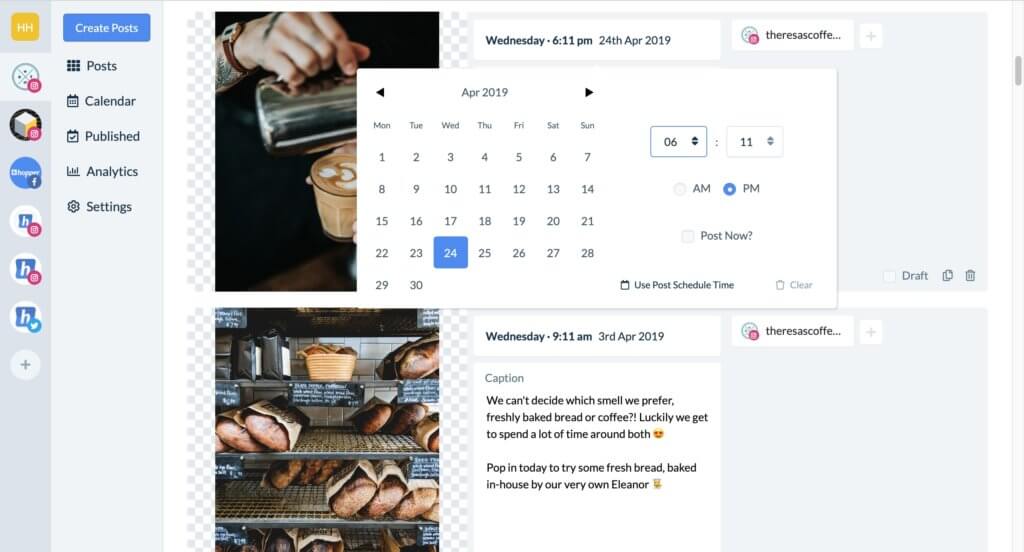
To schedule Instagram Stories with Hopper HQ, sign up, connect your Instagram account, create a new post as an “Instagram Story,” upload your media, and choose a future date and time for Hopper HQ to auto-post it.
With Hopper HQ, you can schedule stories, posts, and even carousel content all in one place from your desktop.
1) Sign up and connect your account:
Start by signing up for Hopper HQ. You’ll need to connect your Instagram account. Hopper HQ supports multiple accounts, so you can handle them all in one place if you’re managing more than one.
2) Create a new post:
Once you’re inside the Hopper HQ dashboard, click on ‘Create’. You can choose ‘Instagram Story’ as your post type.

3) Craft your story:
Add the images or videos that you’d like to schedule. Then also any other necessary details that you’d like to include.
4) Set your schedule:
Select your desired date and time for your Instagram story to go live. You can even auto-post the same story multiple times on different days or times – perfect for keeping your content in rotation.

5) Preview and schedule:
Before hitting the ‘Schedule’ button, take a moment to preview your story. Make sure everything looks just the way you want it.
Once satisfied, click ‘Schedule,’ and your Instagram story is officially in the queue!
How to Schedule Instagram Stories with Hopper HQ Mobile App
1) Open the Hopper HQ mobile app
The first thing you need to do is open the Hopper HQ mobile app and select the account you wish to schedule your story to.
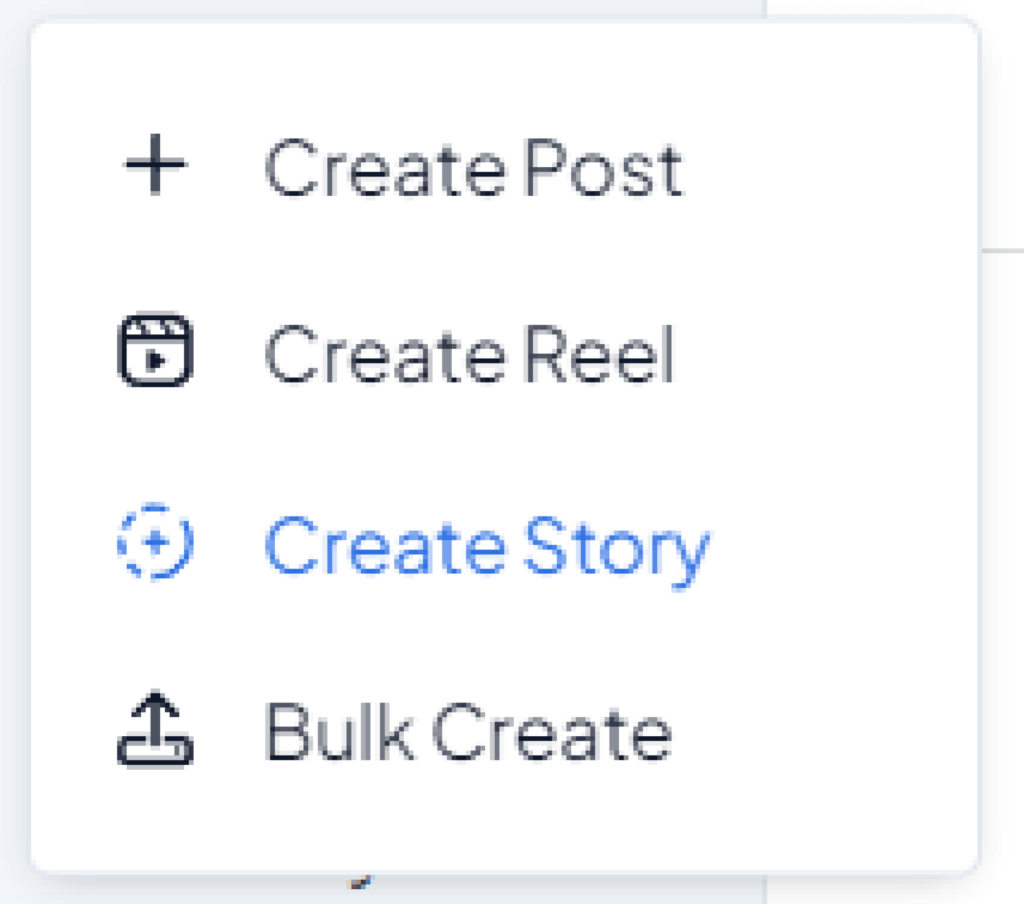
2) Select the option Story
On the top right select the “+” option and then select the option “Story”
3) Add your media
Upload the media you wish to use in your Instagram story, then complete any necessary details. From tagging accounts to adding other visuals. You may also benefit from the AI resizing feature, to ensure that your media is with the right dimensions.
4) Schedule your story
When you’re happy with your story, select the option the schedule it and pick the ideal time and date for it to be published.
5) Select accounts
Benefit from Hopper HQ cross-posting features and select all the social media channels you wish to schedule this story for!
Is Hopper HQ or Meta Business Suite better for scheduling Instagram Stories?
| Feature | Hopper HQ | Meta Business Suite |
| Ease of Use | User-friendly interface, great for beginners. | Straightforward but less intuitive. |
| Supported Platforms | Instagram, plus other social media platforms like TikTok, YouTube and LinkedIn. | Instagram and Facebook only. |
| Content Types | Instagram stories, Reels, posts, carousels, and more. | Primarily designed for stories and posts. |
| Analytics | Robust analytics with insights into engagement. | Basic insights on post-performance. |
| Pricing | Starts with a 14-day free trial, then paid plans start at $16 a month. | Free to use. |
| Scheduling Flexibility | Advanced scheduling options, including recurring posts. | Limited scheduling options. |
| Collaboration | Supports team collaboration with multiple user access. | Limited collaboration features. |
Now, let’s break down these differences:
Ease of use: Hopper HQ wins for its straightforward interface and easy content creation. If you’re not tech-savvy, you’ll appreciate its user-friendliness.
Multiple accounts: Hopper HQ supports managing multiple Instagram accounts, making it an excellent choice for social media managers or influencers juggling multiple profiles.
Scheduling options: Hopper HQ offers more flexibility, including recurring posts, giving you more control over your content calendar.
Content management: If you’re managing accounts across different platforms, Hopper HQ’s ability to handle Instagram, Facebook, and more might be a game-changer.
Analytics: Hopper HQ provides in-depth analytics, allowing you to track your story’s performance over time. Meta Business Suite offers basic engagement insights.
Cost: Meta Business Suite is free, which is great for those on a tight budget. Hopper HQ offers paid subscriptions with various pricing tiers, so you can choose a plan that suits your needs.
Ultimately, the choice between Hopper HQ and the Meta Business Suite depends on your specific goals and the level of control you want over your Instagram story scheduling.
What are the best tips for scheduling Instagram Stories?
Some of the best tips for scheduling Instagram Stories include knowing your audience, testing different posting times, staying timely with events and holidays, and using analytics from Hopper HQ to refine your schedule.
1) Know Your Audience
Understanding your audience’s behavior is vital for scheduling your Instagram stories.
Hopper HQ offers in-depth analytics, including engagement metrics, user demographics, and posting performance. By analyzing these insights, you can pinpoint when your audience is most active, ensuring your scheduled stories reach maximum impact.
Furthermore, you can tailor content to match their preferences, increasing engagement and forging a deeper connection.
2) Test With Different Posting Times
Testing different posting times is crucial for optimizing your Instagram stories’ impact.
By experimenting with posting times, you can discover when your audience is most active and responsive. Some may engage more during lunch breaks, while others prefer evenings.
Continuous testing enables you to refine your schedule for maximum engagement, increasing the likelihood of your stories being viewed and interacted with.
Hopper HQ’s scheduling capabilities empower you to adapt your strategy based on real data, ultimately boosting the effectiveness of your Instagram story campaigns.
3) Stay Relevant and Timely
Whether it’s a festive greeting, a themed promotion, or holiday-related tips, planning ensures your content is prepared and published precisely when it’s most contextually relevant.
This approach resonates with your audience’s current interests and emotions, fostering a stronger connection.
By recognizing and embracing holidays, you show your brand’s awareness and adaptability, creating a more engaging and relatable experience for your followers.
4) Bonus Tips
Swipe-up Links: This feature ensures that your call-to-action is seamlessly integrated into your stories, whether it’s promoting a blog post, a product sale, or an event registration.
By strategically placing Swipe-up links, you guide your audience effortlessly toward your desired destination, enhancing user engagement and achieving your marketing objectives efficiently and precisely.
Use Hashtags and Location Tags: Incorporating hashtags and location tags into your Instagram stories is a smart strategy for broader reach and discoverability.
Adding relevant hashtags lets you tap into trending topics and communities interested in those keywords, potentially attracting a wider audience. Additionally, location tags connect you with users exploring or residing in that area, enhancing local engagement.
Hopper HQ allows hashtag research options that recommend popular tags to you.
Find more ways to grow your Instagram following.
How do you master Instagram Story scheduling for your business?
You master Instagram Story scheduling by using tools like Hopper HQ and Meta Business Suite, planning content in advance, testing posting times, and relying on analytics to refine what and when you post.
We’ve uncovered the power of scheduling tools like Hopper HQ and the Meta Business Suite, simplifying the processes. We’ve shared invaluable tips and tricks for optimizing your Instagram story strategy.
While both tools offer benefits, Hopper HQ stands out for more needy users.
With its user-friendly interface, support for multiple platforms, advanced scheduling options, and in-depth analytics. For those seeking a versatile and efficient Instagram story scheduling solution, Hopper HQ is the top recommendation