

Businesses should schedule Facebook posts to save time for more important tasks like strategizing, tracking analytics, and creating unique content for their audience.
With Facebook being a vital tool for any business marketing strategy, it’s important that social media managers keep their Facebook Business page up to date with good, frequent content.
For those managing multiple channels and even accounts, this can be a hefty, time-consuming task. That’s why you should consider Hopper HQ to cross-post your content in advance. This frees up time and ensures the right balance of content is being published, especially if multiple people are managing the Facebook page.
We’ve put together this step-by-step guide on how to schedule Facebook posts and why you should start now!
How to schedule Facebook posts using Meta Business Suite
The first location where you can schedule Facebook posts is on the Meta Business Suite. Here, you can manage both your Facebook and Instagram accounts. If you’d like to know how to schedule posts on Instagram, we have an article just for that!
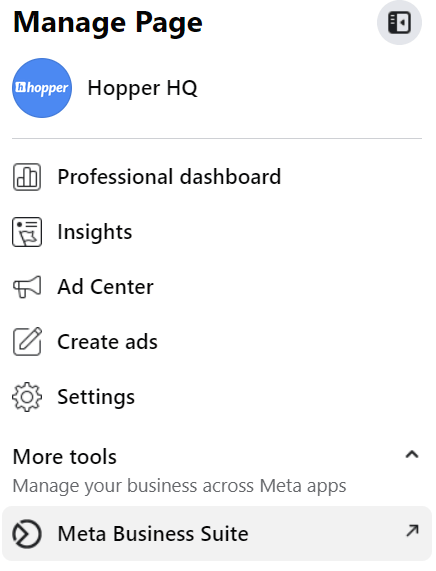
1) Click on Meta Business Suite from your Business page
You should be able to see this option on the left-hand side menu.

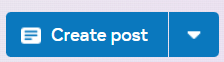
2) Then click on “Create Post”
When you reach your account on Meta Business Suite, click on the option “Create post” which should be present under your username on the home dashboard.

3) Add your Visual, copy, and whatever else necessary
Next, add your visuals, captions, and any other necessary bit and pieces.

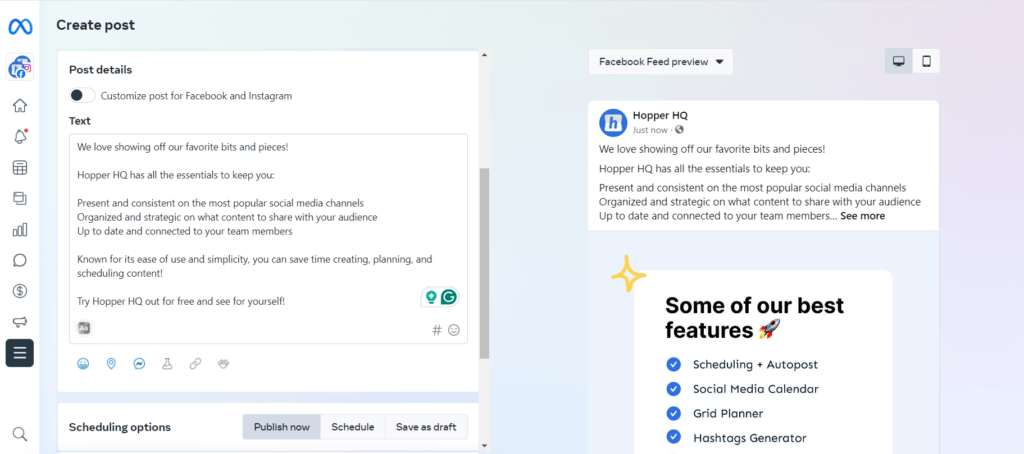
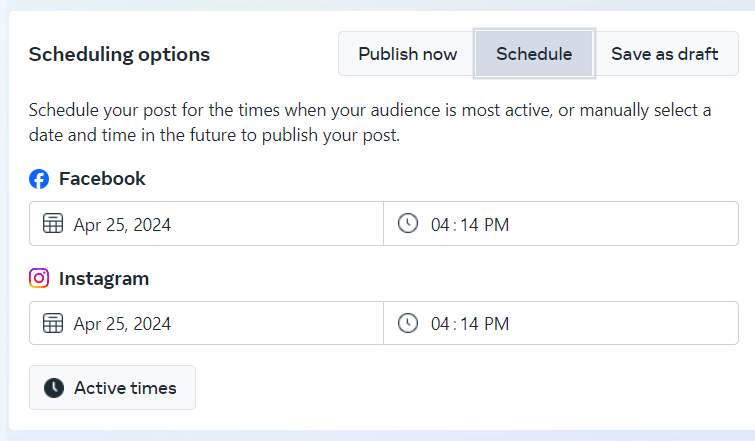
4) Enable the “Schedule” option on Scheduling options
Make sure to select the “Schedule” option and choose your desired time and date.You can also select if you want the post to be published only on Facebook or Instagram as well.

6) Hit “Schedule”
That’s pretty much it! You’ll have your post schedule on Facebook and Instagram (if selected) for your desired time and date.
However, keep in mind that you’ll only be able to schedule Facebook posts on Meta Business up to 30 days in advance. If you’d like to have more flexibility in your calendar to post more content further in the future, you should consider a social media scheduler like Hopper HQ.
How to schedule a Facebook post on Mobile
To schedule a Facebook post on your mobile device, you can use the Meta Business Suite app, which allows you to manage and schedule posts for your Facebook Page and Instagram account. If you’d like to manage other popular social mediaz channeld as well, consider the easy to use Hopper HQ mobile app!
1) Install the Meta Business Suite App:
Download and install the Meta Business Suite app from the App Store (iOS) or Google Play Store (Android).
2) Log In to Your Account:
Open the app and log in with your Facebook credentials. Ensure you have administrative access to the Facebook Page you wish to manage.
3) Select Your Facebook Page:
If you manage multiple pages, tap the menu icon and select the appropriate page from the list.
Create a New Post:
Tap the “+” (plus) icon or the “Create Post” button.
Enter your post’s content, including text, images, or videos.
4) Schedule the Post:
After composing your post, tap “Next” or the scheduling option.
Select “Schedule” instead of “Publish Now.”
Choose the desired date and time for your post to be published.
5) Confirm and Schedule:
Review your post and the scheduled time.
Tap “Schedule” to confirm.
Your post is now scheduled and will be automatically published at the specified time.
For more advanced scheduling features, such as managing multiple accounts or scheduling posts further in advance, consider using a dedicated social media scheduling tool like Hopper HQ.
Note: The Meta Business Suite app’s interface may change over time. Ensure your app is updated to access the latest features and interface changes.
How to Schedule Facebook Posts with a Social Media Scheduler
When it comes to managing a month’s worth of content and multiple Facebook pages, you will need to use a social media scheduling tool. Consider Hopper HQ, for fully automated Facebook scheduling. It’s known for its ease of use and visual first social media calendar.
Step 1: Create a Hopper HQ account
Either log into your current Hopper HQ
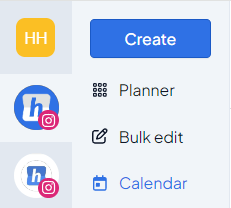
Step 2: Select Create on your dashboard.
On the left-hand side of your Hopper HQ account, you should find the option “create”. This will take you to the post creation page.

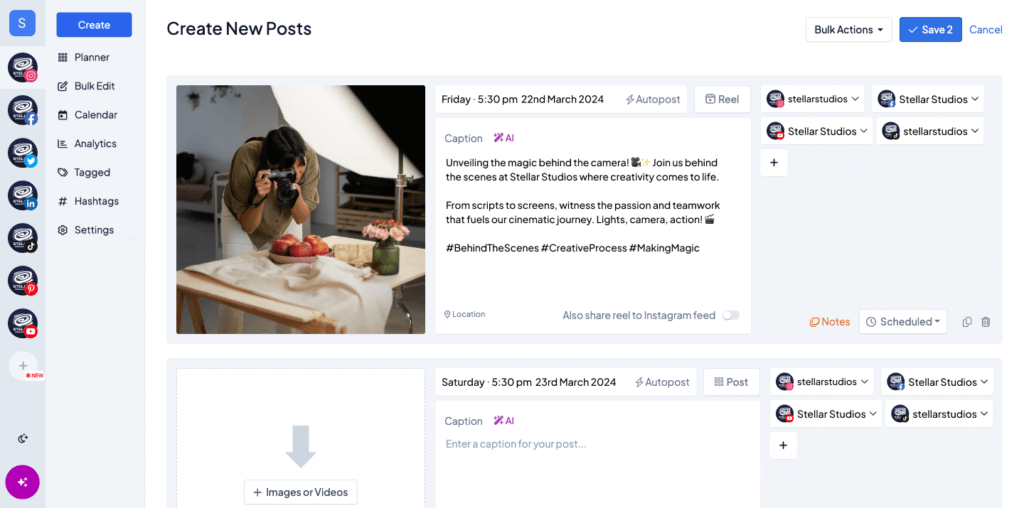
Step 3: Upload & Start to build your Facebook Posts
Time for the fun bit! Now your Facebook page is connected with Hopper HQ, you can begin to schedule Facebook posts!
- Select Images/Videos – Head to the Hopper HQ Queue and click on the ‘New Posts’ button. From here you’ll be able to bulk upload up to 50 files from your computer, a URL, the web, or from Dropbox, Google Drive, Google Photos, or Box.
- Or just write! – You can also schedule text posts and links with Hopper HQ, just select: ‘Get started with a blank post template’ underneath the image uploader

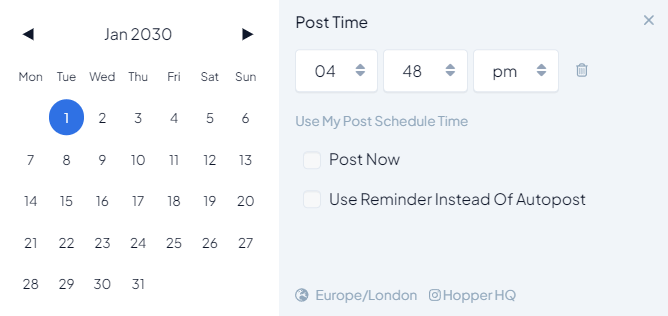
Step 4) Schedule or Cross-schedule your post
When you feel happy with your post, click on the date and time section and select the desired date, hour, and minutes you wish to publish the post.

Step 5) Hit save and you’re done!
Hit “Save, on your post and you should find it scheduled on the Hopper HQ social media Calendar
How to Bulk Schedule Facebook Posts
If you’re looking to bulk schedule posts on Facebook, it’s important to understand the platform’s current limitations. Using Meta Business Suite, you can only bulk schedule videos and Reels. This feature is ideal for video content creators who need to plan their uploads in advance.
However, if you’re looking to schedule a variety of post types, such as text updates, image posts, or links, you’ll need to explore additional options.
For users who want more flexibility and the ability to bulk schedule all types of posts, tools like Hopper HQ offer a robust solution. By leveraging Hopper HQ or similar third-party tools, you can save time and streamline your content strategy, ensuring your posts are always planned and published on time.

Why You Should Schedule Facebook Posts
1) It saves you time for other important tasks
By scheduling Facebook content in advance, you free up time to spend on other areas of social media management, such as community engagement! You can plan your Facebook posts for the month in one sitting, rather than rushing to get content out every day. This streamlines the process and makes teams more efficient – simple!
2) Keep consistent even out of office:
Bulk uploading images, videos, and URLs to post at a time of your choice means you can set it and forget it. This is essential if your audience is in a different time zone from you!
3) Be more organized and strategic:
Scheduling Facebook posts means you know exactly what’s going out and when! Get the perfect balance of content type and posting consistency to keep your followers engaged. You will naturally feel so much more organized having a calendar schedule than trying to remember to post immediately – especially if content needs to go out in the evenings and weekends!
4) Keep on top of social media trends
A great perk of scheduling any social media content is that you can plan in advance for big trends and events! Never miss a time-sensitive hashtag by scheduling them to your Facebook page in advance. You can check out our Social Media Marketing Calendar for the rest of the year’s trends and then schedule them on Facebook!
Final Thoughts:
Depending on your needs scheduling Facebook posts with Meta Business may be enough. However, if you need to publish a large amount of content or in a larger time frame you should probably consider a social media scheduling tool.
Hopper HQ is refreshingly simple to use, visually focused, and cross-schedules your content to any other social media platform that you’re active on. Plan, create, and track your social media presence all in one place!
Hopper HQ is a social media content scheduling and management platform that saves social media managers and agencies time, resources and revenue. Start your 14-day trial today!


Visually plan all your social channels. Instagram, TikTok, Twitter, Facebook + LinkedIn.